CONVERTING THE BEHRINGER
DD-400 DIGITAL DELAY GUITAR PEDAL
TO A SYNTHESIZERS.COM PANEL MODULE
(Page Three)
by Dana Countryman
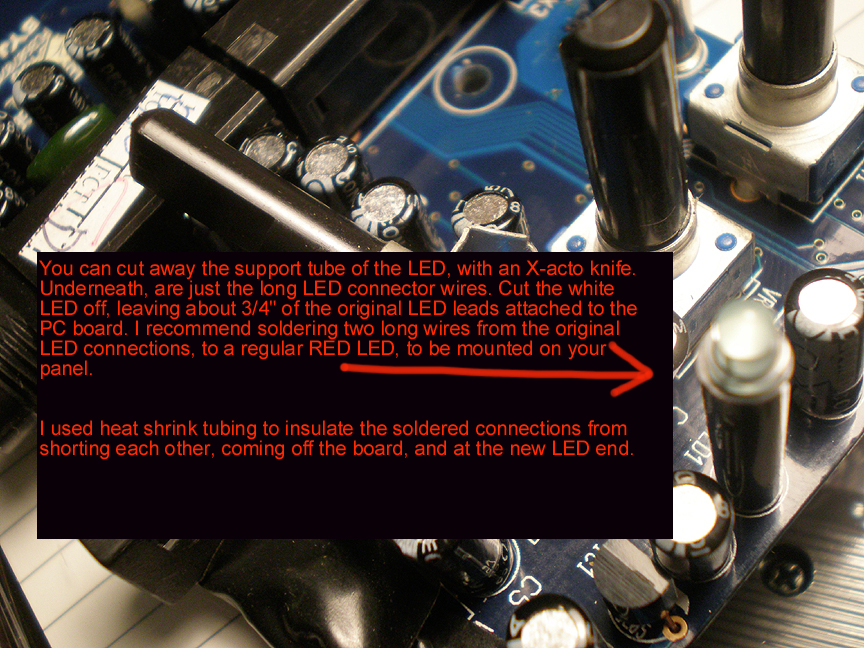
Besides, that factory-installed
White LED is torture to the eyes!
[Be sure to observe the same LED polarity, when adding in the
new one!]
 Now, you've connected
all your pot connections to your remote pots, the LED to the new
remote LED,
Now, you've connected
all your pot connections to your remote pots, the LED to the new
remote LED,
and to the new power switch (bypass switch).
It should look like this:
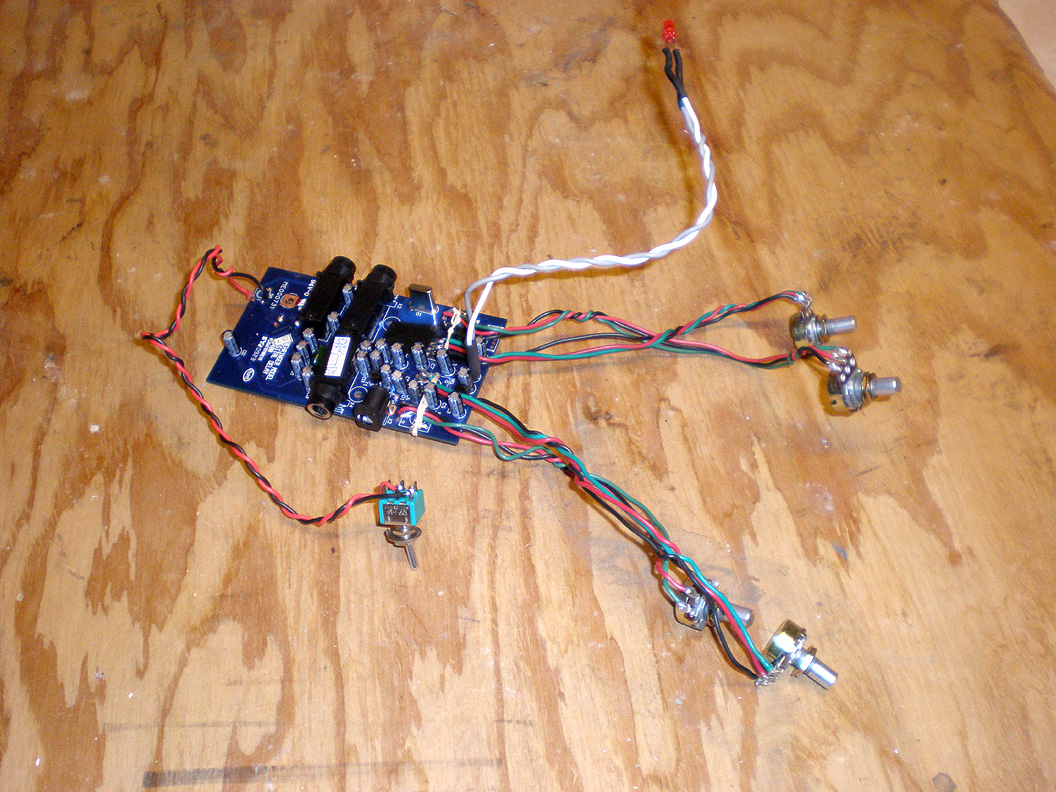
Go ahead, and hook it all up, and test it out to make sure it
all works! If one of your pots doesn't work at this stage, as
happened with mine,
check the PC board connections, and fix the problem now.
Look carefully, and you'll see that
I tied thick carpet thread
through the board, and anchored down the wires to keep stress
off the connections to the pots.
CLICK
ON THE ABOVE PHOTO FOR A VERY CLOSE-UP LOOK!
Now, let's move over
to the panel.
Here's the little beauty:
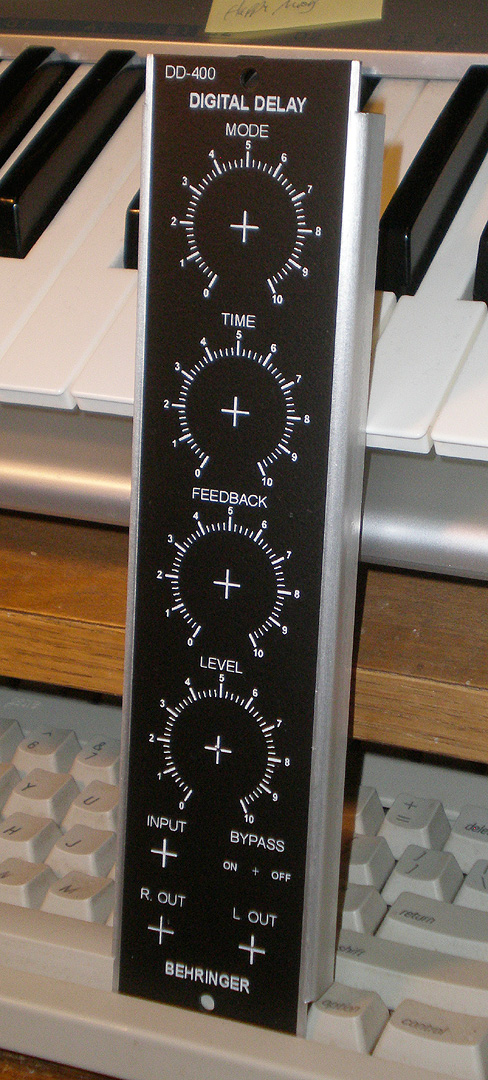 A reminder. Your panel has been
silkscreened with Acrylic white ink. Immediatly after silkscreening,
it was possible to scrape the ink off.
A reminder. Your panel has been
silkscreened with Acrylic white ink. Immediatly after silkscreening,
it was possible to scrape the ink off.
Therefore, I coated each panel with seven layers of fine matte
spray, and let it harden for several days. Can you still scrape
the ink off?
Probably, but you'd have to work at it. Just like you can scratch
one of Roger's professionally screened and cured panels, this
can
be scratched, too. Be careful! It should be quite durable under
normal usage.
I have done about 5 different custom panels with this method over
the years, and they are holding up really well! Very tough.
Let's start drilling
out your panel...
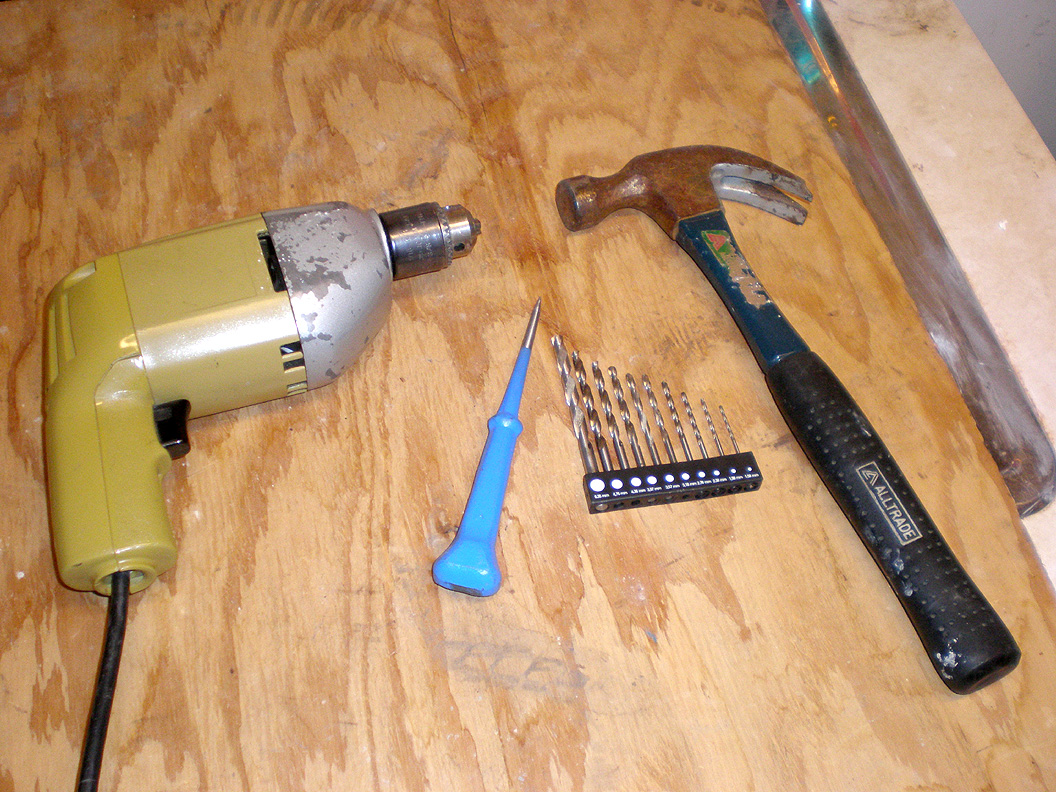
The main tools you'll need to drill out your panel.
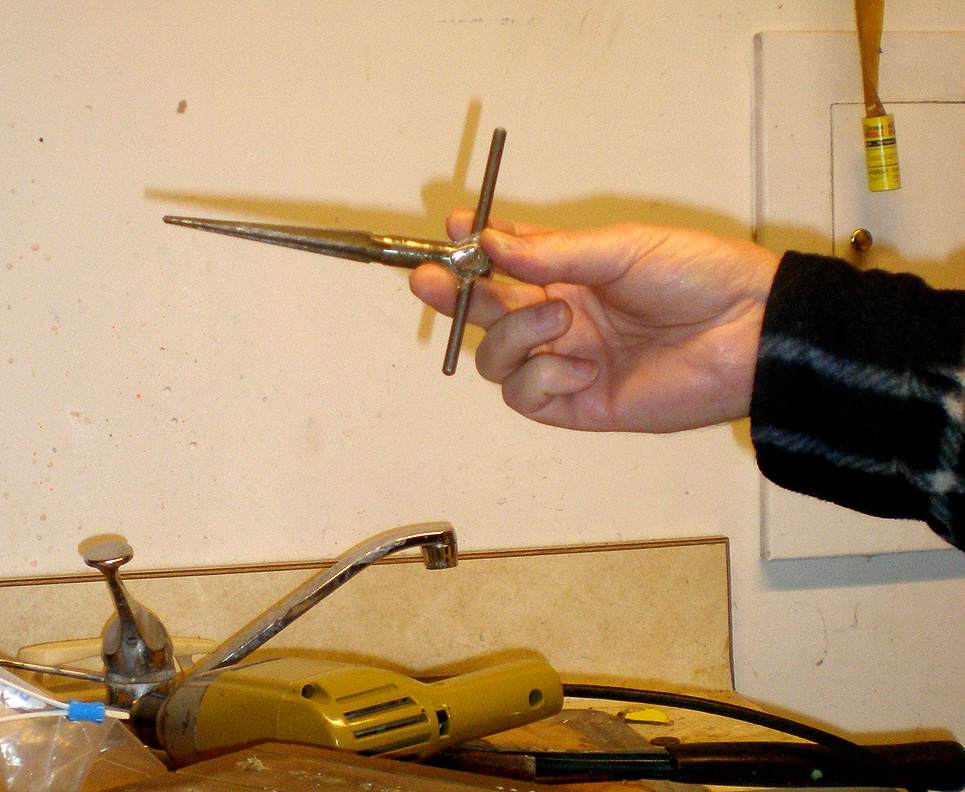
One of the best tools you'll every buy for making custom panels
-- the tapered sheet metal hand reamer! (Sometimes calleed a "T
Handle Pipe Reamer".)
You can modify any hole, drilled in aluminum, with this baby!
It costs $15-20, and I've had mine for years!
ON TO NEXT PAGE
