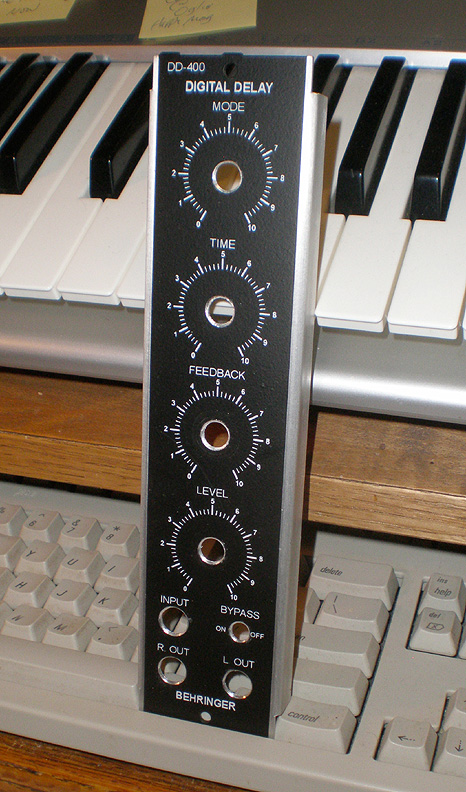
CONVERTING THE BEHRINGER
DD-400 DIGITAL DELAY GUITAR PEDAL
TO A SYNTHESIZERS.COM PANEL MODULE
(Page Four)
by Dana Countryman
Now, you'll start
drilling your panel holes...
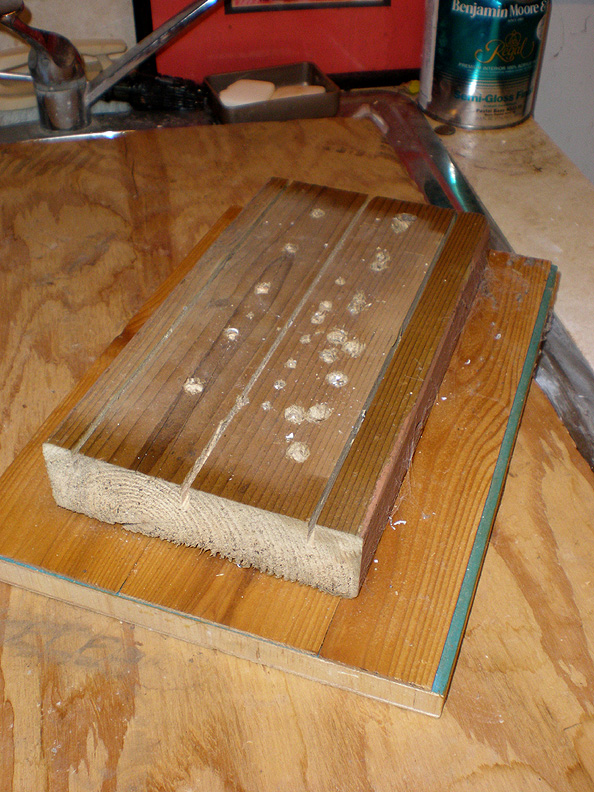
This is a jig, made out of a 2" X 6" stud. It is simply
a few slots, cut with a table saw.
The slots are the exact size of a single-width, and a double-width
panel.
I mounted it on another board for more stabiltiy.
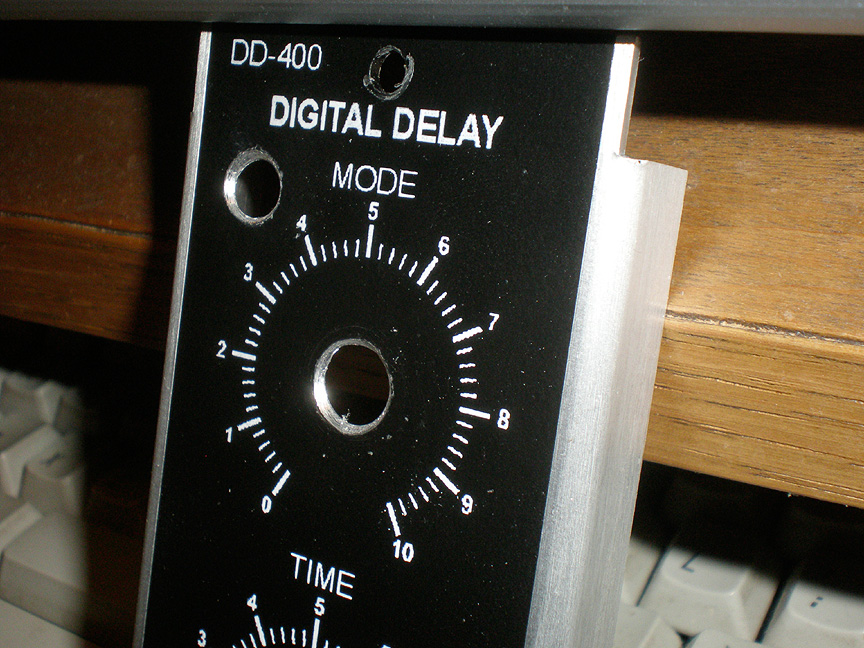
Here is the undrilled panel, nested into the drilling board. Make
sure the board is SNUG, and can't
slide around in the slots, when drilling.
IMPORTANT!!!! Do NOT place masking tape or ANY kind of tape on
the face of your panel during drilling.
It can damage the matte coating and potentially ruin your panel.
With my method, you won't need masking tape.
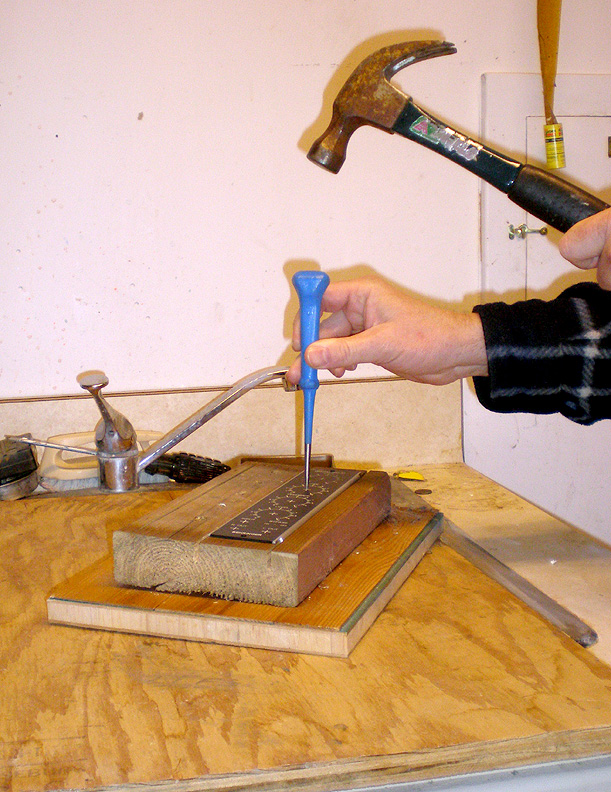
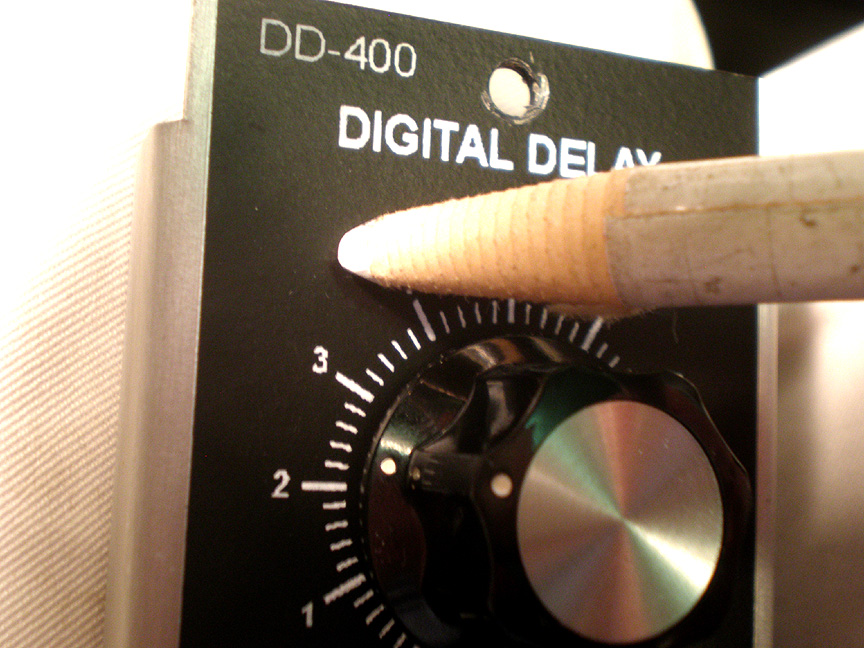
I use a center punch with a VERY sharp point for centering the
drill bits you'll be using later.
You HAVE to use a center punch, or your drill will glide off-course.
This is critical step!
Center your punch on the "X's", and give it three or
four good hits. Make sure you are centered perfectly!
Take your time with this step, and you'll be grateful later.
When you are ready
to start drilling, always use a small bit to start with, and move
up to larger bits, as you get
closer to the hole size you want. Always work up to your
hole size, in a multi-drill process.
When you get just slightly under the correct hole size, use your
T-handle reamer to get to the final size.
Check your pot, switch or jack by testing it on the panel, once
you get in the ball park.
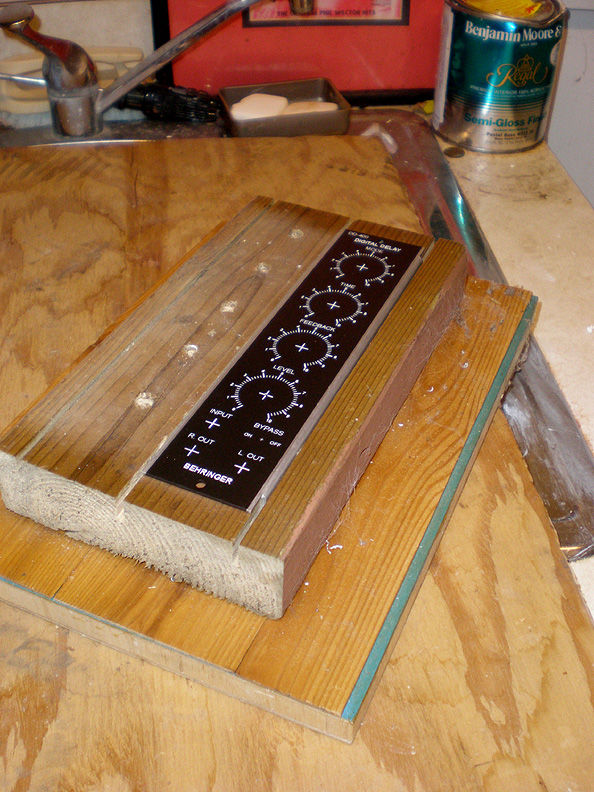
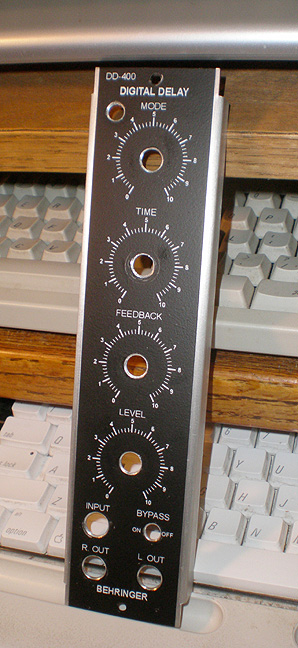
The drilled panel!
A DESIGN CHANGE:
Along the way, I decided to change the original factory white
LED to red, and squeeze it into the module panel.
I originally didn't think I wanted the light on the module, but
after thinking about it, it's nice to visually see if the module
is on.
So, I found room in the upper left corner for the LED, and its'
LED holder (both were purchased at Radio Shack.)
Marking where the LED holder hole will go with a white China marker,
or grease pencil.
With the LED hole added!
A closer look at the new hole. You can see that the holes have
been cleaned up with a countersink bit.
I used this kind of
countersink drill bit to clean up the burrs, where all the holes
were drilled.
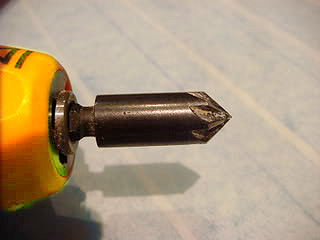
Be sure to clean up BOTH sides of each hole.

Next, prepare your "L" bracket. You can buy them from
www.bridechamber.com,
or simply cut a piece of sheet metal to size.
I hate cutting sheet metal! So, I prefer to buy "L"
brackets from Bridechamber. Tell Scott I said 'hi'!
As marked on the end above, the distance between the pots is 1
5/8".
Next, cover the area
where your PC board with be, with double-sided carpet tape.
I left one side covered with the protective plastic.
Of course, you could just glue a piece of cardboard or cloth on
the bracket, too.
The idea is to keep the metal of the bracket insulated away from
the electrical contacts of the PC board....
ON TO NEXT PAGE